Quick Tip: How to Setup D-Link Motion Detection
D-Link IP cameras have a great set of features for motion detection but they can be a bit tricky to setup for first-time users. There are also a few minor but potentially confusing “gotchas” that all users should be aware of when setting up motion detection on a D-Link. This post recaps the required settings, outlines the gotchas and offers a few workarounds.
Figuring out the Event Settings
You’ll see some variations in the settings across D-Link cameras, but in general there are required Event Settings that need to be configured. They can be a bit daunting for first-time users, but they actually make sense once you get over the learning curve.
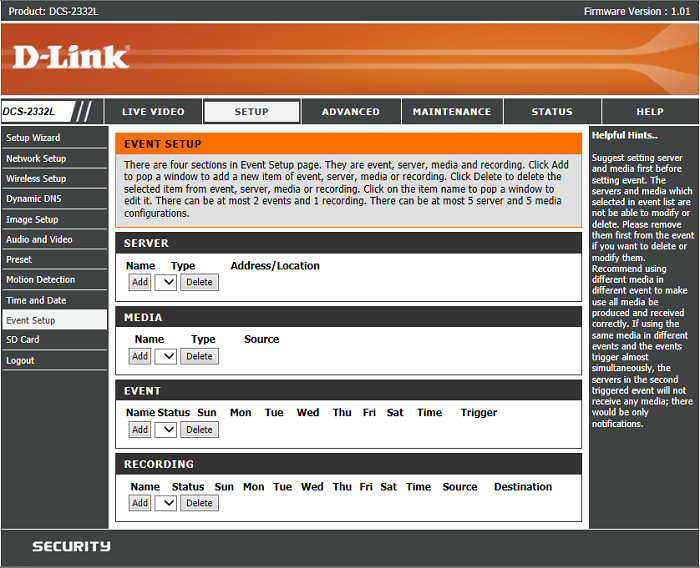
Many IP cameras have this concept of an “event”. This is a configurable activity that (normally) is used to save media (video or images) somewhere. To explain the D-Link settings, I think the best way to think about this is using the classic: What, Where, When. (I skipped the Who and How but work with me…)
- What: Media Type is where you define what you want to record — an image snapshot or a video clip. The settings here are fairly straightforward, and in particular the Video Clip settings are quite flexible with a pre-event recording (aka buffer), stream profile and clip length options.
- Where: Server is where you define the location the Media Type is saved. You have the option for it to be sent by email, FTP or a network storage location.
- When. Event is where you pull it all together. Here you can define the Trigger for the event (in our example, it will be Video Motion Detection), a calendar schedule for when this event should be enabled/disabled, and what action you want taken when the event happens.
There’s also a Recording menu which we won’t go into here. This is where you can setup scheduled recordings — so not really an event at all!
The Missing Motion Detection Menu
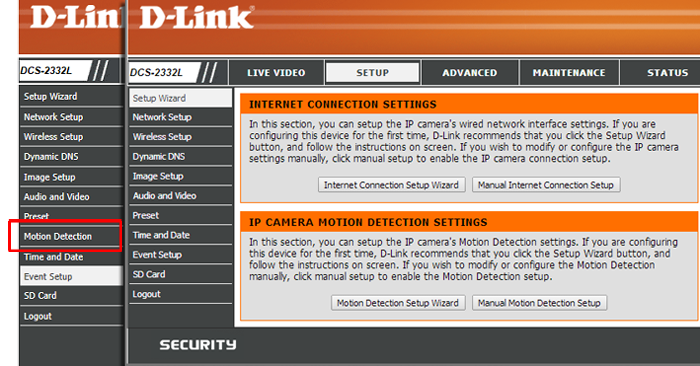
You could successfully complete all your Event Settings as described above, look at the available menus and conclude: “I’m done.” Well, you’re not and this is one I’ve seen people get confused with before. You remember the Event Trigger option and selecting “Video Motion Detection”? Well, this means you also have to configure your motion detection! And, believe it or not, on the majority of browsers this menu option doesn’t exist! You need an ActiveX plug-in and if you’re not running IE (which most people don’t) then you will miss this option — see screencap below. On the left is the IE menu and on the right is one from Firefox (which looks the same for Chrome and Safari on Mac). To make it more confusing, Firefox even prompts you for a QuickTime plug-in install, but that doesn’t actually enable this feature.
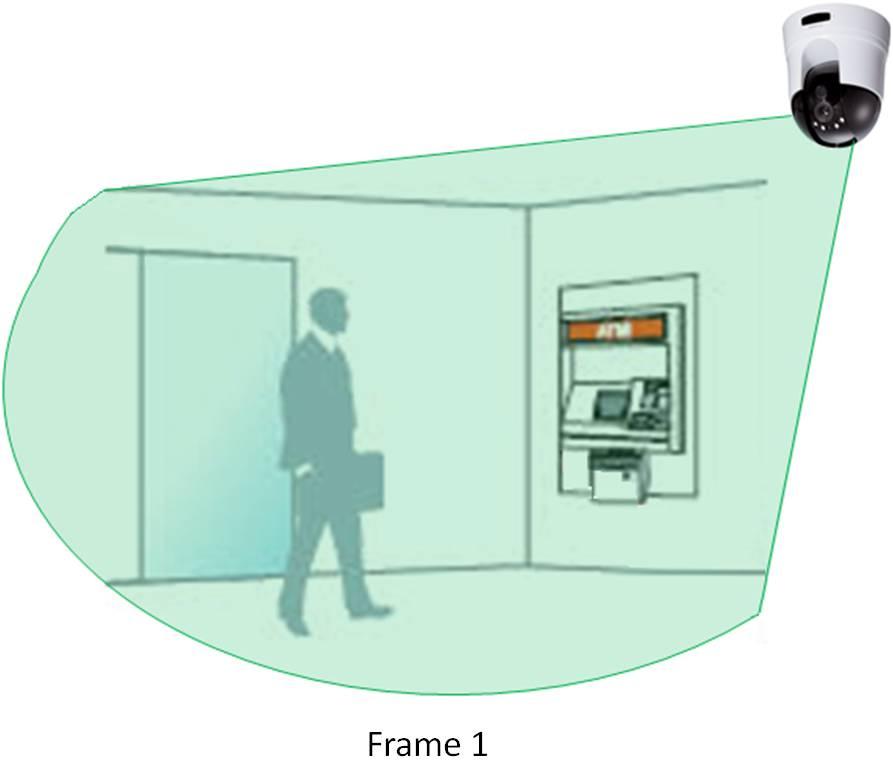
Bottom-line, if this menu item is missing for you, it can be launched from the Setup home page, also seen below. If you launch one of the “Motion Detection Settings” buttons (Wizard or Manual), this setting will be shown… BUT if you’re not running IE you will not be able to set a “motion detection zone”, basically a grid on your camera’s view that allows you to define where you want motion detection to be applied. This is a really important feature if you want to reduce the number of unwanted motion events.
I missed this option first time around since I just jumped to the menus I wanted on the left, and of course I missed the motion detection launch buttons. I know I’m not the only one since we’ve run into many customers that have as well.
Workaround: How to Set your Motion Detection Zone
Ok, so you’ve got your motion detection up and running now, but you still can’t setup your motion detection zone. One way to do this if you really, really can’t run Internet Explorer (e.g. you’re a Mac user or you just really, really don’t like IE), is through the mydlink service. Now, I can’t say this is an ideal approach since it requires launching another settings interface, but it does work. Visit http://mydlink.com/download, download and run their setup software. You’ll be prompted to create a mydlink account (separate from your camera credentials), then inside mydlink under Settings there’s an option to set your Video Motion Detection zone. Those settings will be pushed down to the camera, so you should be good to go. I’ve tried this on the DCS-2332L and it works fine but would be interested to hear what experiences others have had — leave a comment below.
And if you are using D-Link motion detection and want some cloud storage, try out a free plan with Camcloud. Here’s a recap of how we support the D-Link line of cameras.
No Comments