How to Setup the D-Link DCS-942L with Camcloud
Before starting I suggest watching:
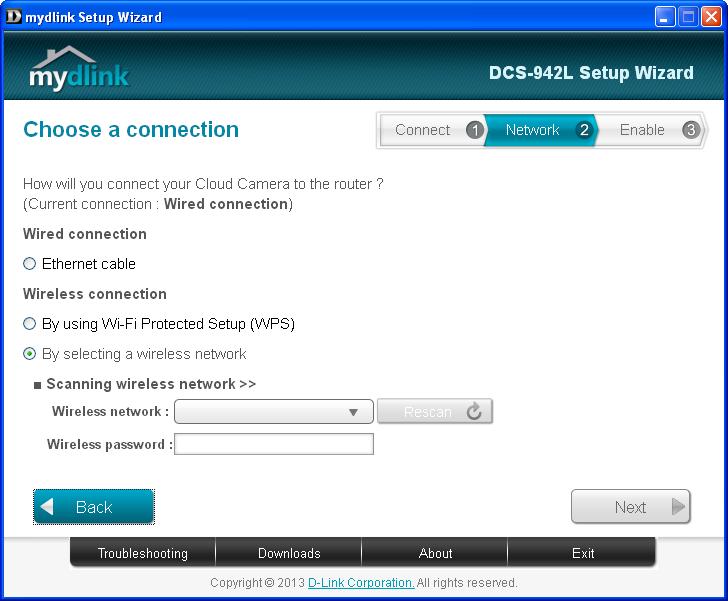
Setting up the D-Link DCS-942L is super easy. Go to www.mydlink.com/download and click the setup for your platform. Then it is a simple matter of following the onscreen instructions. Ultimately it will find your camera on your network and it will ask you enter an admin password. Then you can start the wireless setup. Again just follow the steps.
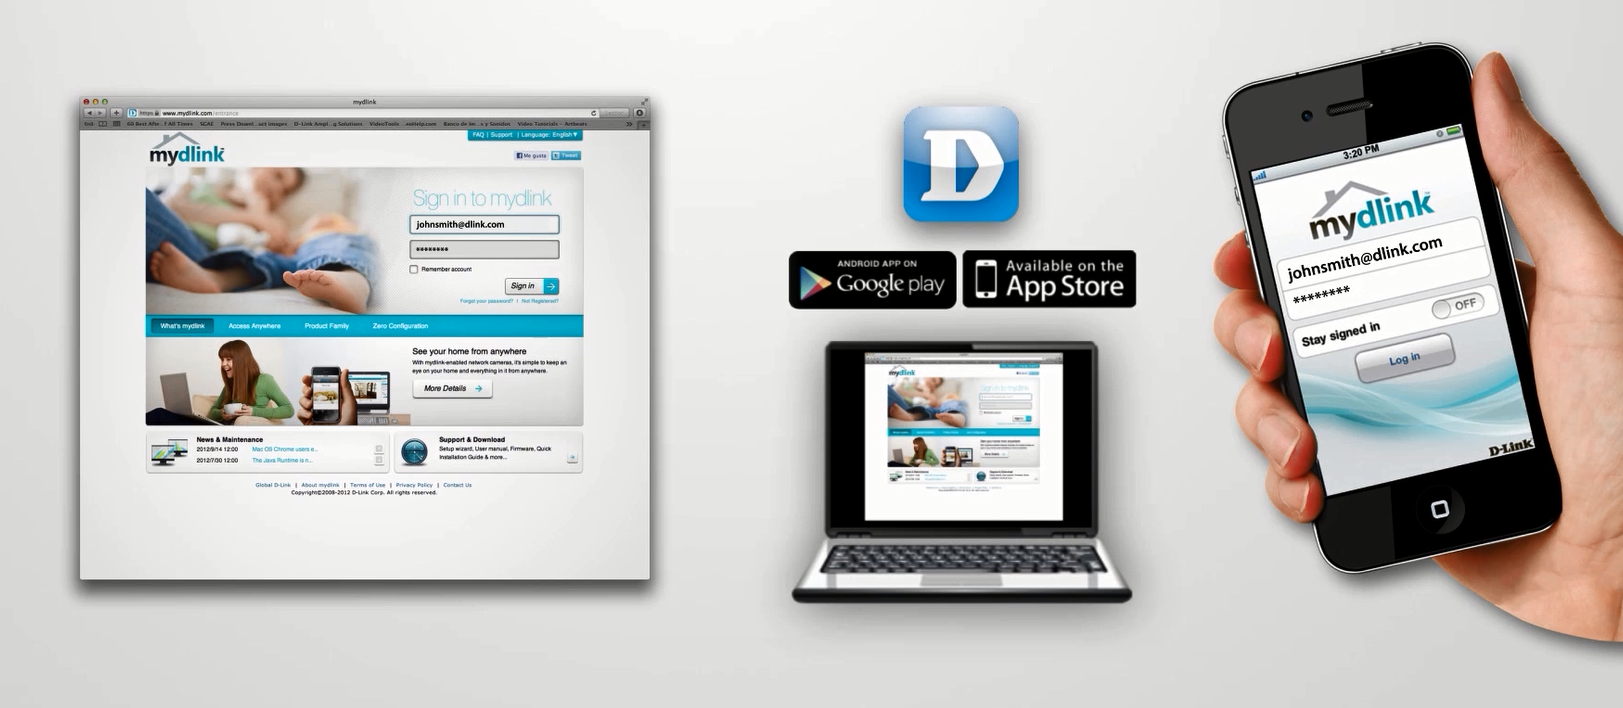
It will eventually ask you to enable mydlink services. You can sign up for an account but it’s not necessary as you will be connecting to Camcloud.
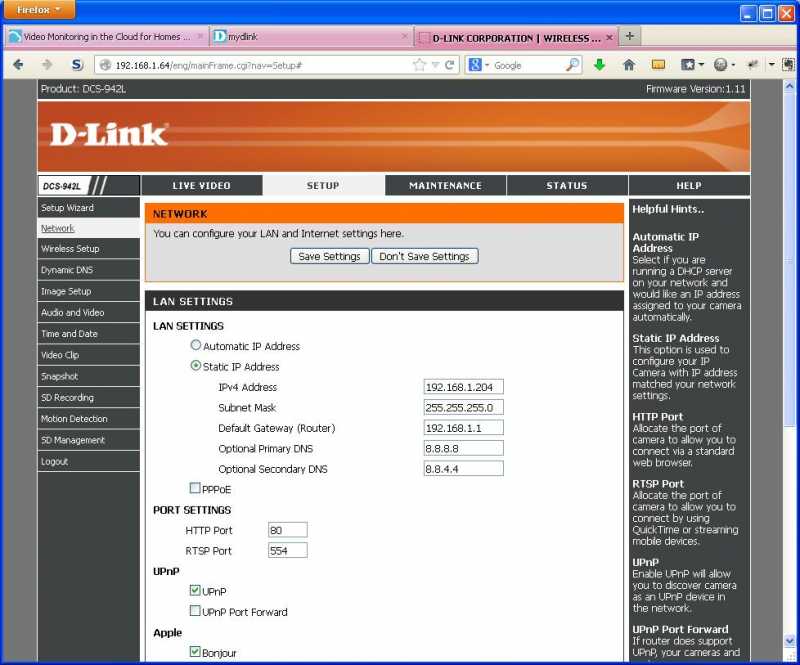
Finally you will be given an IP address for further customization. Remember this (or click on it now) as you will use this to configure the camera for Camcloud.
Setting up Your D-Link with Camcloud:
For the D-Link configuration I recommend creating a static IP for this camera and more importantly adding DNS servers. Select an IP value, it doesn’t really matter what value you use and make sure to use the appropriate value of your router. This varies depending on the router type, for example:
| Default Router | Dlink, Netgear | Linksys | Belkin, SMC | US Robotics | Airport Extreme |
| Address | 192.168.0.1 | 192.168.1.1 | 192.168.2.1 | 192.168.123.254 | 10.0.1.1 |
For DNS use 8.8.8.8 and 8.8.4.4.
Now let’s setup up motion detection. Going to the Motion Detection tab you need select “Enable Video Motion” and then drag your mouse over the camera window. Motion will be detected within the area that you select, and will be ignored outside it. I normally select the entire window. Save Settings.

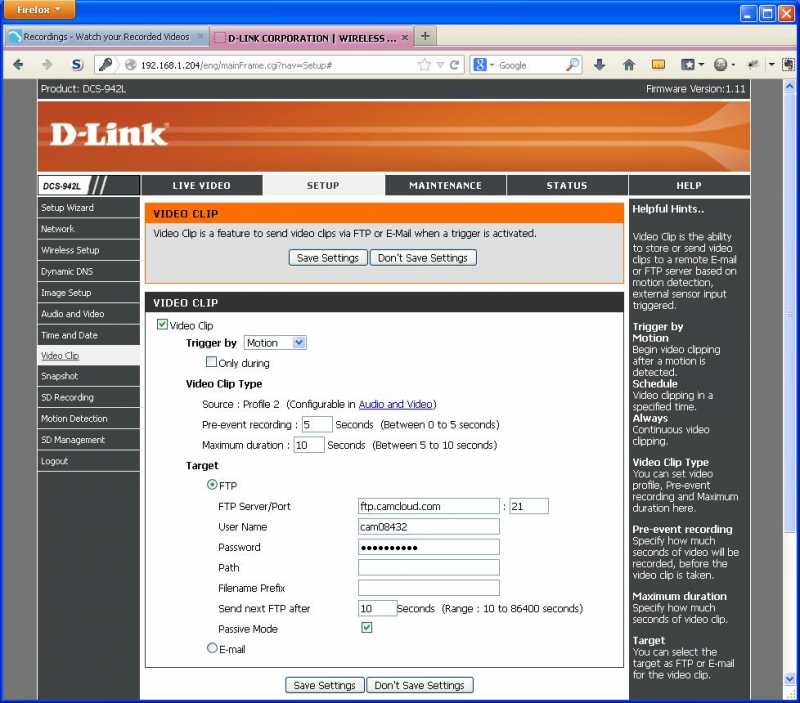
Now go to the Video Clip tab. Remember the credentials you have for your FTP camera, enter them here. Make sure to set “Trigger by” to “Motion”. Note: Oddly D-Link doesn’t have a “Test” button for the FTP which is quite annoying. So the only way to know if the FTP credentials is working is to check the system logs (found under the Status -> Log tab).
That’s it. You should be set to live stream and get motion detection recordings with Camcloud!
No Comments